Schedule and automate notebook runs
Overview
Amazon SageMaker Unified Studio provides capabilities to automate notebook execution beyond interactive sessions. You can run notebooks in the background on dedicated compute, create recurring schedules for automated execution, parameterize notebooks for reuse with different inputs, and orchestrate multi-notebook workflows.
These capabilities help you move from exploratory analysis to production-ready data pipelines without leaving the notebook environment.
Running a notebook in the background
Background runs execute your notebook on dedicated compute that is separate from your interactive session. This frees your session for other work while the notebook runs.
To run a notebook in the background:
Open the notebook that you want to run.
In the notebook header, choose the menu on the Run all button, and then choose Run in background.
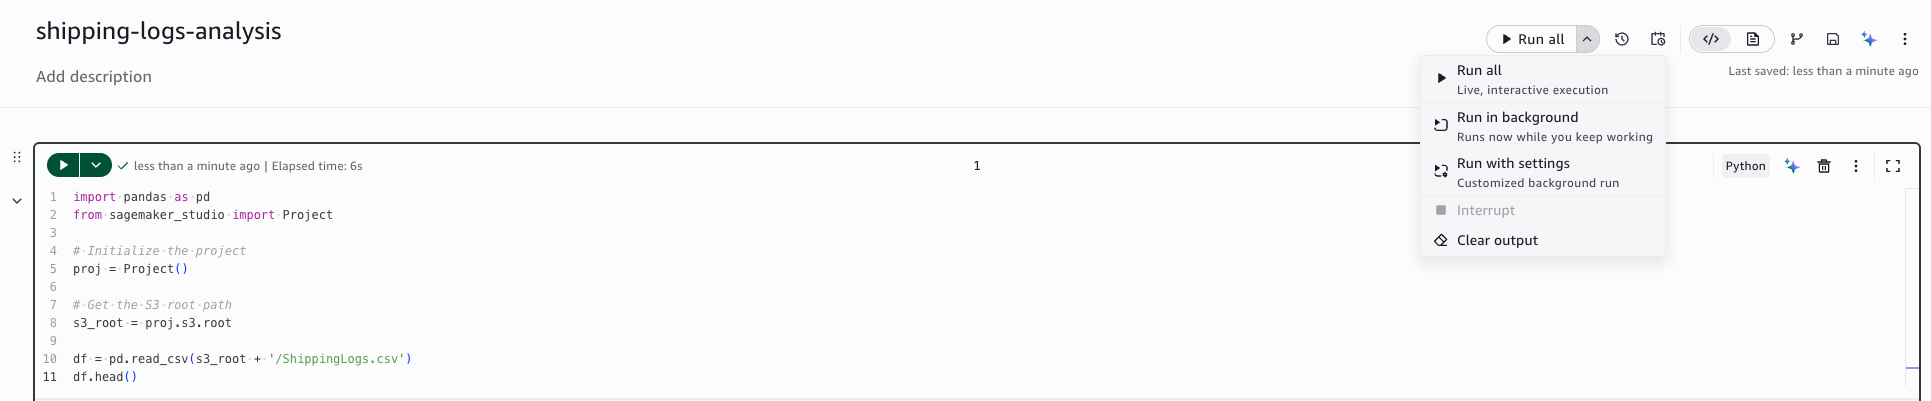
The notebook begins executing on dedicated compute. You can continue working in your interactive session.
To view the status and output of a background run:
Open the Runs activity panel.
Locate the run in the list. The status indicates whether the run is in progress, succeeded, or failed.
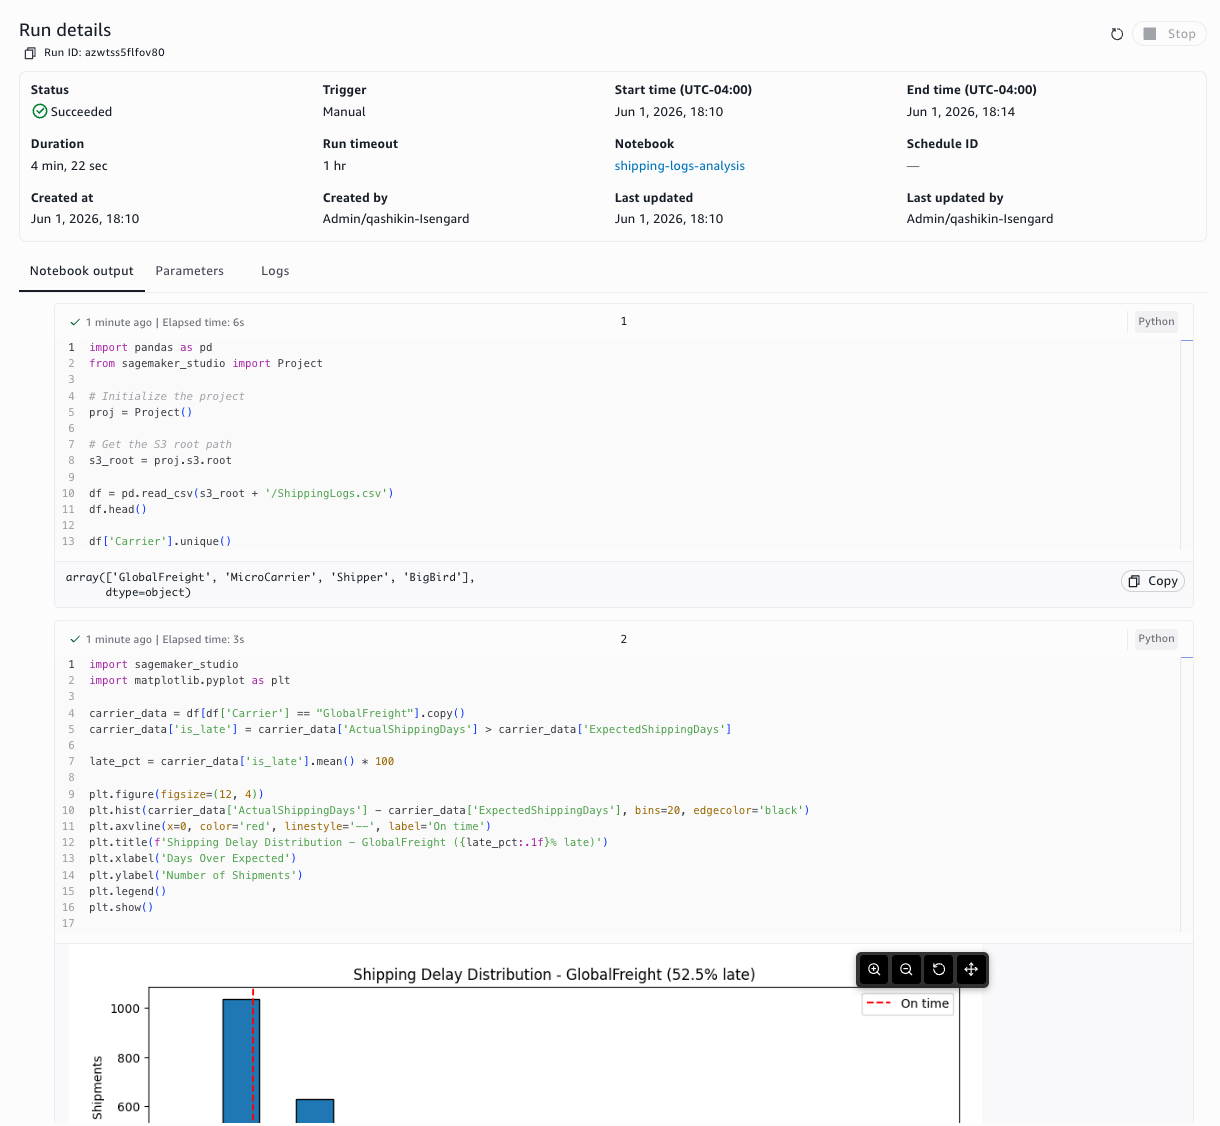
Choose the run to view the following tabs:
Output – The executed notebook with cell outputs.
Parameters – The parameter values used for the run.
Logs – Execution logs for debugging.
To stop a background run:
Open the Runs activity panel.
Locate the in-progress run.
Choose Stop to cancel the execution.
Background run considerations
Background runs use dedicated compute that is isolated from your interactive session.
Packages installed in your interactive environment are available in background runs.
Local files from your interactive session are not accessible. Store files in Amazon Simple Storage Service for access during background runs.
Background runs have a startup time while the dedicated compute initializes.
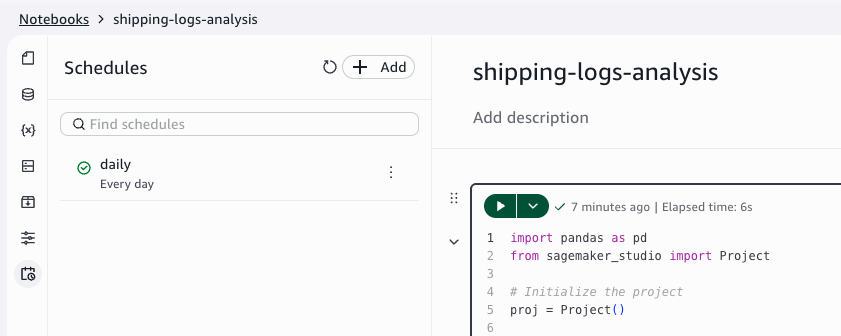
Creating a recurring schedule
You can create schedules to run notebooks automatically at specified intervals. Amazon SageMaker Unified Studio creates an Scheduler schedule for each configured schedule.
Tip
You can also use the SageMaker Data Agent to create schedules and start background runs using natural language prompts. For more information, see Getting started with the SageMaker Data Agent for Notebook.
To create a schedule:
Open the notebook that you want to schedule.
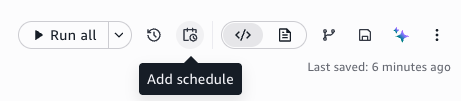
Choose the schedule icon in the notebook toolbar.
Configure the schedule settings.
Choose Create.
The following settings are available when you create a schedule:
- Schedule name
A descriptive name for the schedule.
- Schedule type
Choose Recurring for repeated execution or One-time for a single future run.
- Frequency
For recurring schedules, specify the frequency using a rate expression (for example, every 1 hour) or a cron expression for more complex patterns.
- Time zone
The time zone for the schedule.
- Start date and end date
Optional start and end dates to control when the schedule is active.
- Flexible time window
An optional window during which the schedule can run, which helps distribute load.
The following advanced settings are available:
- Compute instance override
Specify a different compute instance type for scheduled runs than the one used in your interactive session.
- Timeout
The maximum duration for the run. The default timeout is 60 minutes.
The schedule appears in the Schedules tab of the activity panel after creation.
Viewing, editing, and deleting schedules
You can manage your schedules from the notebook toolbar or the Runs activity panel.
To view run history:
Open the Runs activity panel.
View the list of completed and in-progress runs with their status and timestamps.
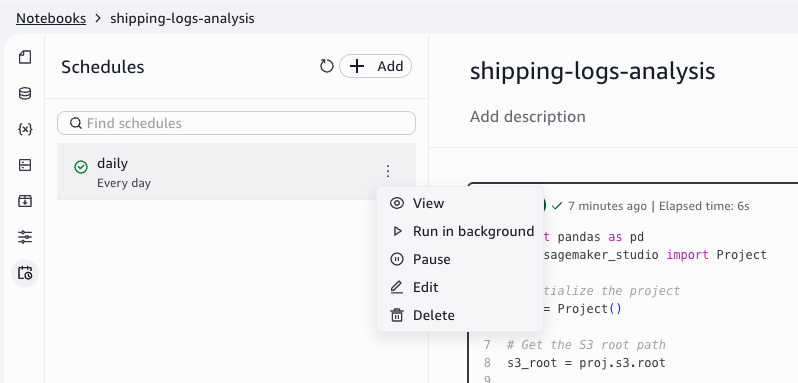
To edit a schedule:
Choose the schedule icon in the notebook toolbar.
Locate the schedule that you want to modify.
Update the schedule settings as needed.
Choose Save.
To pause or resume a schedule:
Choose the schedule icon in the notebook toolbar.
Locate the schedule.
Choose Pause or Resume to change the schedule state.
To delete a schedule:
Choose the schedule icon in the notebook toolbar.
Locate the schedule that you want to delete.
Choose Delete.
Confirm the deletion.
Note
Deleting a schedule preserves historical run outputs in Amazon Simple Storage Service. You can still access previous run results after the schedule is deleted.
Parameterizing notebooks
You can define parameters for your notebooks to make them reusable with different input values. This allows you to create multiple schedules with different parameter values or override parameters for on-demand runs.
To define parameters:
Open the Parameters activity panel.
Choose Add parameter.
Enter a name and default value for the parameter.
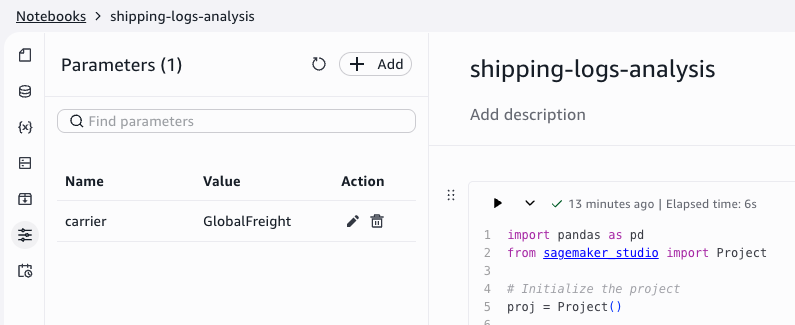
Repeat for each parameter that you want to define.
To use parameters in your notebook code, call the
sagemaker_studio.nbutils.parameters.get() function:
from sagemaker_studio.nbutils import parameters

# Retrieve a parameter value
carrier = parameters.get("carrier")

# Retrieving other parameter values
bucket = parameters.get("output_bucket")
To create schedules with different parameter values, create multiple schedules for the same notebook and specify different parameter values in each schedule configuration.
To override parameters for an on-demand run:
Choose Run all.
Choose Run with settings.
Modify the parameter values for this run.
Choose Run.
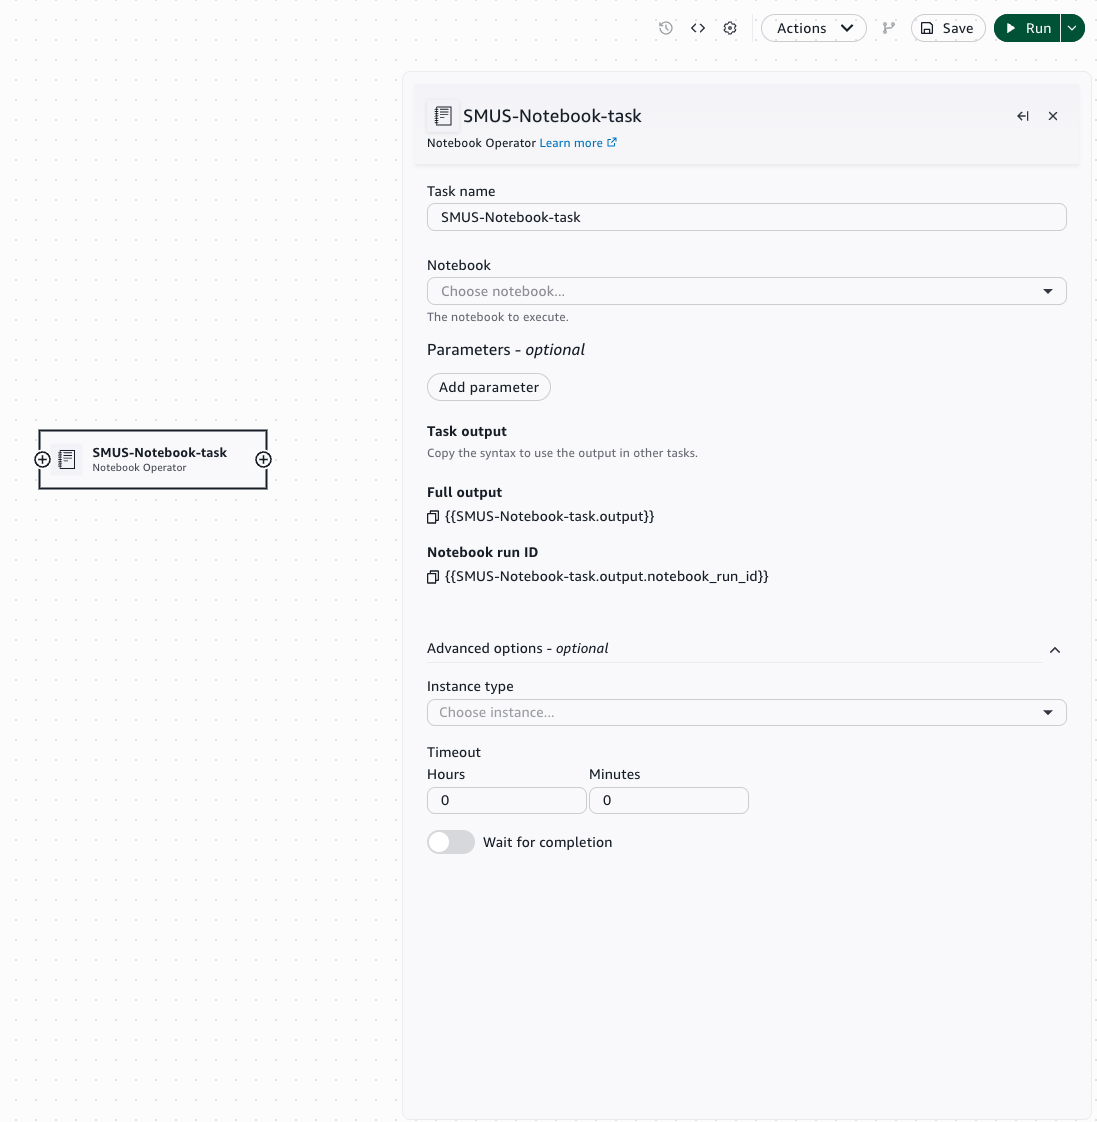
Orchestrating notebooks with workflows
You can orchestrate multi-notebook pipelines by using the Notebook Operator in the Workflows tool. This allows you to chain notebook executions, pass data between notebooks, and build complex data pipelines.
To add a notebook to a workflow:
Open the notebook that you want to include in a workflow.
Choose Add to workflows.
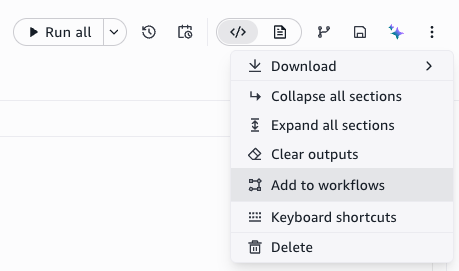
Select an existing workflow or create a new one.
The Notebook Operator task supports the following configuration:
- Notebook selection
The notebook to execute as part of the workflow.
- Parameters
Parameter values to pass to the notebook for this workflow step.
- Compute and timeout
The compute instance type and maximum run duration for this step.
Use the Notebook Sensor to poll the run status of a notebook execution before proceeding to the next step in the workflow.
To pass outputs between notebooks in a workflow, use the Variables panel to define output variables in one notebook and reference them as inputs in downstream notebooks. You can chain multiple Notebook Operators to create sequential or parallel execution patterns.
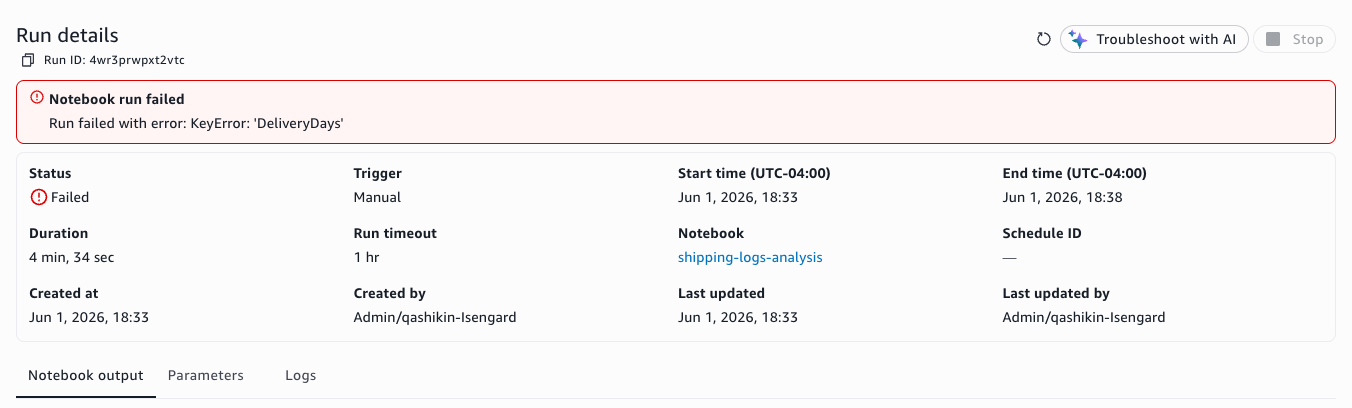
Debugging failed runs
When a scheduled or background run fails, you can identify the issue and get AI-assisted troubleshooting.
To debug a failed run:
Open the Runs activity panel.
Locate the failed run, indicated by a failed status.
Choose the run to open the failed output notebook.
Review the cell that caused the failure and the error message.
Choose Troubleshoot with AI to invoke the data agent. The agent analyzes the error and suggests fixes.