Add a target using the CLI
You can use the AgentCore CLI to add targets to an existing gateway with simplified commands.
Example
- AgentCore CLI
-
-
Add an MCP server target:
agentcore add gateway-target \
  --name MyMCPTarget \
  --type mcp-server \
  --endpoint https://your-mcp-server.example.com/mcp \
  --gateway MyGateway
agentcore deploy
Add a Lambda function target:
agentcore add gateway-target \
  --name MyLambdaTarget \
  --type lambda-function-arn \
  --lambda-arn arn:aws:lambda:us-east-1:123456789012:function:MyFunction \
  --tool-schema-file tools.json \
  --gateway MyGateway
agentcore deploy
Add an OpenAPI schema target:
agentcore add gateway-target \
  --name MyOpenAPITarget \
  --type open-api-schema \
  --schema path/to/openapi-spec.json \
  --outbound-auth none|api-key|oauth \
  --gateway MyGateway
agentcore deploy
Add a Connector target with Web Search Tool:
agentcore add gateway-target \
  --name MyWebSearchToolTarget \
  --type connector \
  --connector web-search \
  --exclude-domains blocked-website-1.com,blocked-website-2.com \
  --gateway MyGateway
agentcore deploy
-
- Interactive
-
-
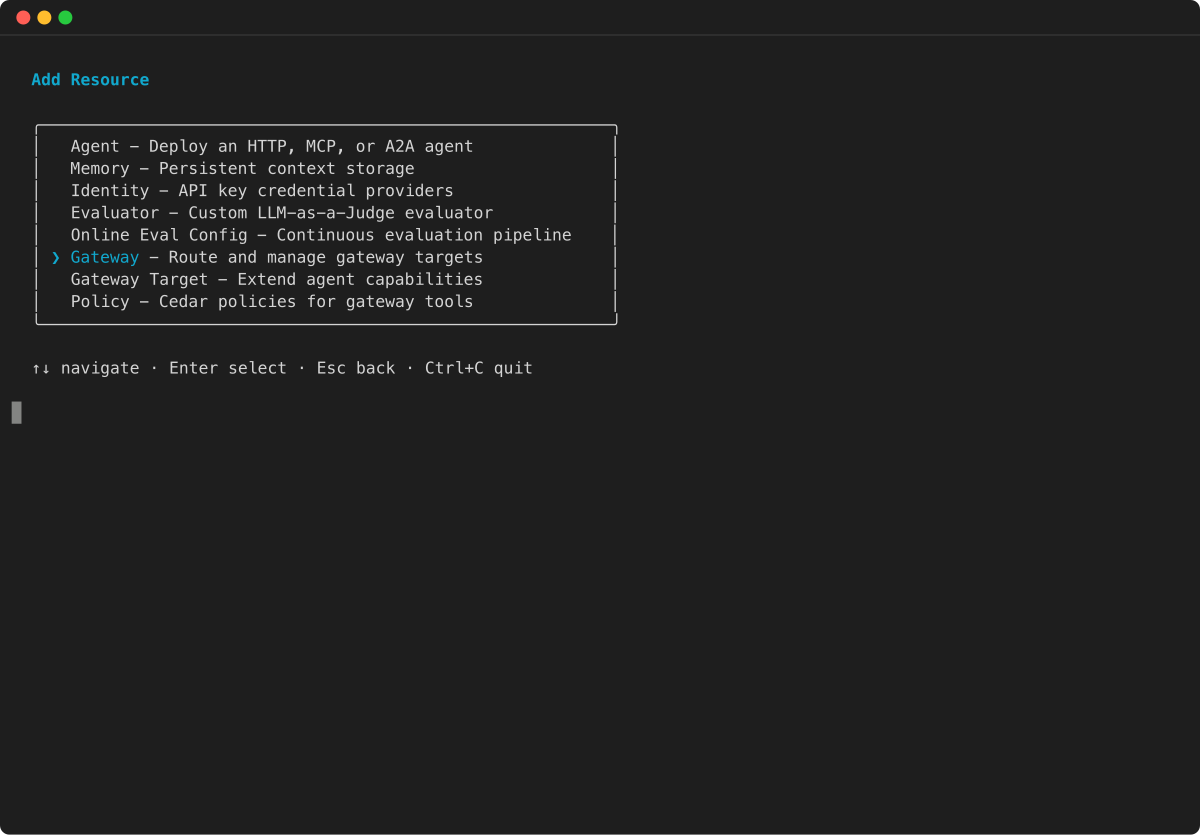
You can also use the AgentCore CLI interactive terminal UI. Run
agentcoreto open the TUI, then select add and choose Gateway Target : -
In the Add Resource menu, select Gateway Target and press Enter.
-
Select the target type for your gateway. The wizard shows the available target types, including MCP Server endpoint, API Gateway REST API, OpenAPI Schema, Smithy Model, and Lambda function.

-
Follow the remaining wizard prompts to provide the target name, endpoint or schema details, and outbound authorization configuration. The specific fields depend on the target type you selected.
-
For more CLI examples, see the Get started with AgentCore Gateway.
