Getting started with Policy in AgentCore
In this tutorial, you’ll learn how to set up Policy in AgentCore and integrate it with a Amazon Bedrock AgentCore Gateway using the AgentCore CLI. You’ll create a refund processing tool with Cedar policies that enforce business rules for refund amounts.
Topics
Prerequisites
Before starting, make sure you have the following:
-
AWS Account with credentials configured. To configure credentials, you can install and use the AWS Command Line Interface by following the steps at Getting started with the AWS CLI.
-
Node.js 18+ installed
-
IAM permissions for creating roles, Lambda functions, policy engines, and using Amazon Bedrock AgentCore
-
A Lambda function that processes refund requests. You can use an existing function or create one for this tutorial. Note the function ARN for use in Step 2.
Step 1: Setup and install
Install the AgentCore CLI:
npm install -g @aws/agentcore
Create a new AgentCore project:
Example
Step 2: Add a gateway with a policy engine
Use the AgentCore CLI to add a gateway, a Lambda function target, and a policy engine to your project.
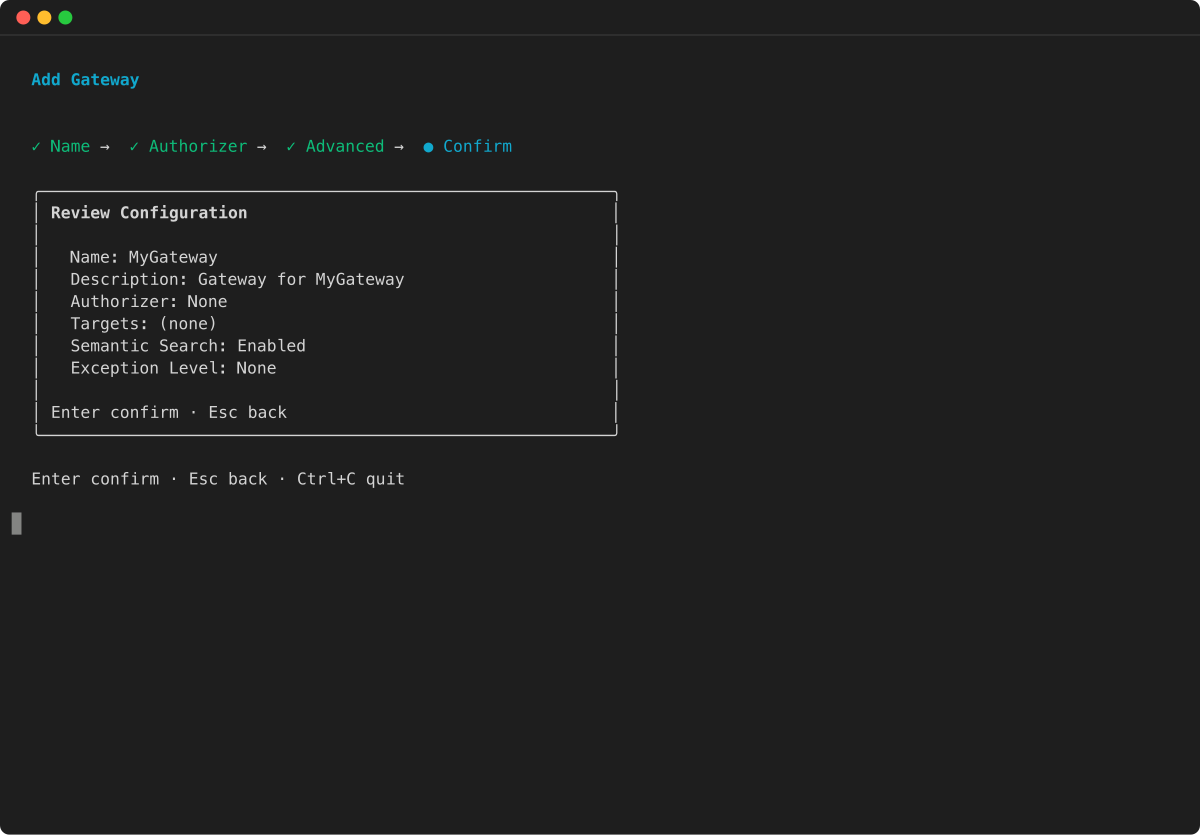
Add a gateway
Create a gateway with no inbound authorization (for simplicity in this tutorial) and attach your agent to it:
Example


Add a Lambda function target with a refund tool
Register your Lambda function as a gateway target with a tool schema that defines a refund processing tool:
Example

Add a policy engine
Create a policy engine and attach it to the gateway in ENFORCE mode:
Example


Create a Cedar policy
Provide a Cedar policy file directly:
agentcore add policy --name RefundLimit \
  --engine RefundPolicyEngine \
  --source refund_policy.cedar
Note
Cedar policies that reference specific gateway ARNs in the resource field (as shown in the example below) require a two-phase deployment: first deploy without the policy to create the gateway, then retrieve the gateway ARN from agentcore status , update the Cedar file, and add the policy before redeploying. Cedar does not allow wildcard resources in policy statements.
Alternatively, after deploying your resources in Step 3, you can generate a Cedar policy from a natural-language description:
agentcore add policy --name RefundLimit \
  --engine RefundPolicyEngine \
  --generate "Only allow refunds under 1000 dollars" \
  --gateway PolicyGateway
The --generate flag requires the gateway to be deployed first, because it calls an AWS API that needs the gateway ARN to convert natural language into Cedar. This approach automatically resolves gateway ARNs, making it the simplest path for creating policies.
Understanding the setup
The CLI commands above configure several resources in your AgentCore project. Here’s a detailed explanation of each component.
Topics
Create a Gateway
The agentcore add gateway command creates a gateway that acts as your MCP server endpoint. Setting --authorizer-type NONE disables inbound authorization for simplicity in this tutorial. In production, use IAM or JWT authorization to secure your gateway.
Add Lambda target
The agentcore add gateway-target command registers a Lambda function as a target in the gateway. The tool schema file defines the inputs that agents can pass to the function, such as a refund amount.
Create a Policy Engine
The agentcore add policy-engine command creates a policy engine — a collection of Cedar policies that evaluates and authorizes agent tool calls. The policy engine intercepts all requests at the gateway boundary and determines whether to allow or deny each action based on the defined policies. This provides deterministic authorization outside of the agent’s code, ensuring consistent security enforcement regardless of how the agent is implemented.
Create Cedar Policy
Cedar is an open-source policy language developed by AWS for writing authorization policies. The agentcore add policy command creates a Cedar policy that governs tool calls through the gateway. You can either generate a policy from a natural-language description using --generate , or provide a Cedar policy file directly using --source.
The following is an example Cedar policy that allows refunds under $1000:
permit(principal,
  action == AgentCore::Action::"RefundTarget___process_refund",
  resource == AgentCore::Gateway::"<gateway-arn>")
when {
  context.input.amount < 1000
};
The policy uses:
-
permit– Allows the action (Cedar also supportsforbidto deny actions) -
principal– The entity making the request -
action– The specific tool being called (RefundTarget___process_refund) -
resource– The gateway instance where the policy applies -
whencondition – Additional requirements (amount must be < $1000)
Attach Policy to Gateway
The --attach-to-gateways and --attach-mode ENFORCE flags on the agentcore add policy-engine command attach the policy engine to the gateway in ENFORCE mode. In this mode:
-
Every tool call is intercepted and evaluated against all policies
-
By default, all actions are denied unless explicitly permitted
-
If any
forbidpolicy matches, access is denied (forbid-wins semantics) -
Policy decisions are logged to CloudWatch for monitoring and compliance
This ensures all agent operations through the gateway are governed by your security policies.
Step 3: Deploy
Deploy all resources to AWS:
agentcore deploy
The AgentCore CLI creates the gateway, registers the Lambda target, provisions the policy engine, and attaches the Cedar policy. This process takes approximately 2–3 minutes.
After deployment completes, you can verify the status of your resources:
agentcore status
Step 4: Test the policy
Test the policy by sending requests to the gateway. Because the gateway uses --authorizer-type NONE , you can send requests directly with curl.
Test 1: Refund $500 (should be allowed)
The refund amount of $500 is under the $1000 limit, so the policy engine permits the request:
curl -X POST ++<GATEWAY_URL>++ \
  -H "Content-Type: application/json" \
  -d '{"jsonrpc":"2.0","id":1,"method":"tools/call","params":{"name":"RefundTarget___process_refund","arguments":{"amount":500}}}'
Test 2: Refund $2000 (should be denied)
The refund amount of $2000 exceeds the $1000 limit, so the policy engine denies the request:
curl -X POST ++<GATEWAY_URL>++ \
  -H "Content-Type: application/json" \
  -d '{"jsonrpc":"2.0","id":1,"method":"tools/call","params":{"name":"RefundTarget___process_refund","arguments":{"amount":2000}}}'
Note
Replace <GATEWAY_URL> with the gateway URL shown in the output of agentcore status.
What you’ve built
Through this tutorial, you’ve created:
-
MCP Server (Gateway) – A managed endpoint for tools
-
Lambda target – A refund processing tool registered in the gateway
-
Policy engine – Cedar-based policy evaluation system
-
Cedar policy – Governance rule allowing refunds under $1000
Troubleshooting
If you encounter issues during setup or testing, refer to the following common problems and solutions:
| Issue | Solution |
|---|---|
|
"AccessDeniedException" |
Check IAM permissions for bedrock-agentcore:* |
|
Gateway not responding |
Wait 30–60 seconds after deployment for DNS propagation |
|
Deploy fails |
Run agentcore status to check resource states and review error messages |
|
Policy not enforced |
Verify the policy engine is attached in ENFORCE mode by running agentcore status |
|
Cedar validation error during deploy |
Cedar policies must use specific resource ARNs — wildcard resources (e.g., |
|
Tool call denied unexpectedly |
The policy engine is enforcing and the Cedar policy denied the request. Verify that the policy’s |
|
Deploy fails with policy validation error |
The default validation mode |
Clean up
To remove the resources created in this tutorial, remove both the gateway and the policy engine, then redeploy:
agentcore remove gateway --name PolicyGateway
agentcore remove policy-engine --name RefundPolicyEngine
agentcore deploy
Removing a gateway does not automatically remove its attached policy engine. You must remove the policy engine separately using agentcore remove policy-engine.
